1. How to Make a Brush From Scratch
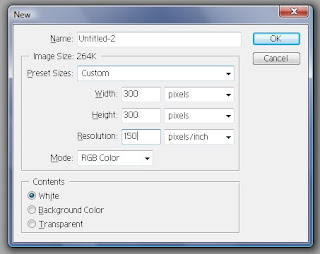
To start, you need to make a new file at roughly 100x100px and 150 resolution and make a new layer over the background. Make sure the Background is white. (The bigger the file, the bigger the brush)
Since we are using the pen tool,
Here is a link to a pen tool tutorial. It's very helpful and you will find the pen tool is easier to use then the nightmare people make it out to be.
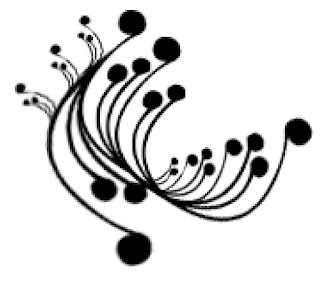
You will need to choose what you want to make a brush out of. I chose to make a shape resembling a group of flower buds.
When You have the shape you want to make finished, right (cmd) click to show the drop down menu. Click on Fill Path and set the color to black or it will not work.
When you have the path filled, right (cmd) click again and select Delete Path. When You're done, copy the layer (cmd or ctrl+J) and Free Transform the layer until you have it the way you like it. Repeat as many times as you want, or you can continue to make more shapes. Be sure to merge all layers except the background layer. (Hint: the more anchors you use, the more control over the shape you have.)
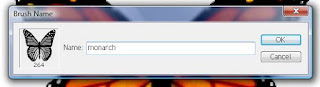
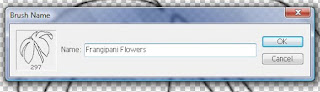
Now that you have the shape you want, go to File+ Define Brush (Pattern) and you will get the following box. Name the Brush what ever you like and click Ok.
To find the Brush, click on the Brush Tool and go to the drop down menu. At the bottom of the list, there will be your new brush.
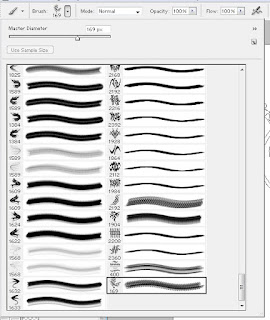
2. How to Make a Brush From a Photo 1
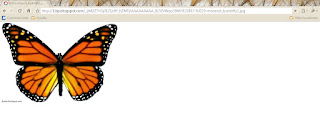
First, you will need to go find a picture with a solid white background. Copy the image and paste it onto the same file as the first brush. Turn the layer of the first brush off.
When you're done with that, you should erase whatever watermarks you can, and wither set the picture to black and white or leave as is. Then, go to File+ Define Brush (Pattern) and name the brush whatever you like.
When you press Ok, your new brush will be in your brush menu box right underneath the first brush you made.
3. How to Create a Brush From a Photo 2
First You need to choose a picture to use for your brush. But this time, it wont matter if you do not have one with a solid background. You will need to select the Pen Tool again and create a new layer.
With the Pen Tool, go around everything you want to be part of the Brush.
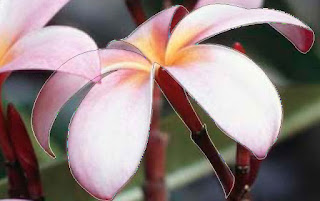
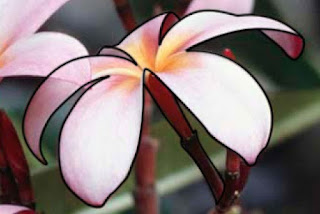
After you have your path, De-select the path by clicking on the picture while holding down the cmd or ctrl key. Then Right (cmd) click for the drop down menu and select the Stoke Path, or you can fill the path. I used a 3px at 0% hardness for this picture. Be sure that the Simulate Pressure Box is un-checked.
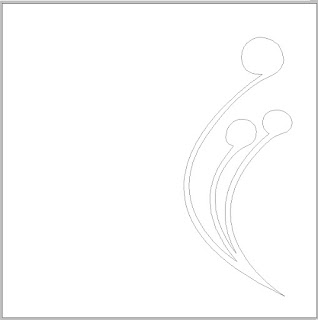
When ready, delete the path so you have an outline like this.
Next, you will need to turn the flower layer off so it's not visible and go to File+ Define Brush (Pattern). You will find this beneath your first two brushes in the Brush drop down selection menu.
Now you know how to create your own brushes in Photoshop. I hope you found this useful. Cheers!







 to do, and found that it's very powerful and bright. So, I had the idea that I could take pictures of random objects through the magnifying glass. Sort of like macro shooting without the macro lens.
 You really can't tell I was using it to take the pictures, but I did take some pictures to demonstrate it's power. As I was saying, I tried taking pictures of different objects, but the lights on the thing were weird and I just couldn't find the correct color balance.
 So I just gave up and used the cloudy setting. As I was taking the pictures I tried to show some of the distortion of the magnifying glass.
 It really only worked a couple of times, But I did notice that some of th objects looked like something that they weren't Like the picture of the wings.


 I didn't edit any of these because I didn't feel like they needed it. Sometimes you just need to go with what you have. For the first few pictures of my dog Bo, I was trying to get pictures of his head and eyes being bigger than the rest of him, such as on the big headed dog posters and such.
 I originally tried just getting close to the dog with my small lens, but I eventually figured out that if you get closer with full zoom, it works better. These other few pictures, I was trying to get a begging emotion out of the dogs.
  I just so happened to get some of my dog with his paws in his face and the air. Some of these I happened to get more in the background than foreground, but others I got lucky with the focus being right. Most of my pictures turned put blurry because Of the lack of light in my kitchen and the fact I didn't want to blind the poor animals with my flash.
 That required slower shutter speeds. I find that when using slower shutter speeds, you may want to use the rapid shot mode on your camera so you get more of the same pose with the lucky chance you got a relatively sharp on in there worth using.
 And, for fun, my brother and sister weren't getting the concept of how to make ghost pictures, so I took my brother down stairs and made him stand there for 10 seconds then walk very slowly towards me. I then continued to hold down the shutter button for another 10 seconds after he started walking.


 So I jut decided to post this up. I don't remember how I made these photos I just found them on my desktop a few days ago. Anyway, I like the first one Because it's a ring of fire, and I remember using the smug tool to get that look. I don't remember how I got the ring in the first place, because I've been trying to make that again.
  Oh well. The second image is probably a circle that I used the block filter on. And the last one is something I figured out how to do a long time ago. The only thing you use is the gradient tool set on difference and have the grid turned on so you can get it even. That took me a long time to figure out. Anyways, you can also use different colors, but pick the opposite color so you don't end up with something weird. Also, it depends on your background.
  If it's black, it will give you a separated look, but if it's white, it will give you a connected look. I think I'm going to make a tutorial for making them, but it's not that hard. Anyway, I made it black and white but I colorized it, so it was blue.